
Quickstart
From zero to a running homelab control plane: Quadlet deploy, init wizard, recovery card, and doctor check.
exocomp runs as a single Go binary (exocompd) — deployed as a systemd host service or
rootless container — holding state in SQLite, and shelling out to the pinned execution
toolchain (ansible-core, opentofu, restic, sops, age, git).
Two hard constraints govern setup: trivial bootstrap and trivial disaster recovery. A setup is only considered complete once the recovery card is printed and verified.
1. Deploy as host service or rootless container
Option A: User systemd host service
Install the binary to ~/.local/bin/ and configure a user unit:
mkdir -p ~/.config/systemd/user
cat << 'EOF' > ~/.config/systemd/user/exocomp.service
[Unit]
Description=exocomp control plane
After=network-online.target
Wants=network-online.target

[Service]
ExecStart=%h/.local/bin/exocomp serve --port 8643 --web-addr 127.0.0.1:8642
Restart=on-failure
RestartSec=3s

[Install]
WantedBy=default.target
EOF
systemctl --user daemon-reload
systemctl --user enable --now exocomp
serve binds two loopback listeners: the state/API backend on --port, and — with
--web-addr — the token-gated web surface over TLS. Add --public-url https://your.host
once the surface has an address a phone can reach, so approval links and push deep links
point at it.
Option B: Rootless Quadlet container
Install the Quadlet definition into your user systemd directory:
mkdir -p ~/.config/containers/systemd
cp packaging/quadlet/exocomp.container ~/.config/containers/systemd/
cp packaging/quadlet/exocomp.volume ~/.config/containers/systemd/
systemctl --user daemon-reload
systemctl --user start exocomp
The daemon's listeners come from serve's flags: --port for the loopback state backend
and --web-addr for the token-gated TLS web surface — 8643 and 8642 in the unit above.
2. Complete the setup wizard
Run the interactive setup wizard via CLI or open the browser at https://127.0.0.1:8642:
exocomp setup
The wizard guides through four atomic steps before committing anything to disk:
- Operator & identity: Captures operator display name, detects host machine name, and generates an
exo-{machine}-{id}ntfy topic. - Recovery kit phrase: Displays the age recovery phrase and blocks until typed confirmation matches exactly.
- First backup & restore drill: Runs an immediate test backup and restores to a scratch path to prove recovery works before first operational use.
- Hand over & commit: Atomically mints identity, generates root secrets envelope, seals the ntfy configuration, attempts a test push, and prints the permanent recovery kit. Nothing is written to disk until this step is confirmed.
3. Save the recovery card
Disaster recovery never depends on the running system. Save the age recovery secret key printed during setup, and re-render the stored public recovery card recipe at any time with:
exocomp recovery-kit > recovery-card.txt
Print this card or save it onto physical media. The card contains:
- The age recovery secret key.
- The off-host read-only S3 and Git credentials.
- The exact shell commands to restore the control plane onto a blank machine using only
age,restic, andcurl(no exocomp binary required).
4. Verify system health
Run exocomp doctor to verify environment permissions, sandboxing, and dependencies:
exocomp doctor
go runtime:   go1.23.0
data dir:     /var/lib/exocomp — ok (mode 0700)
secrets:      mlock active, host key encrypted via systemd-creds
executor:     nono (tier: enforcing)
optional tools (probe subset):
  ansible     2.17.3
  opentofu    1.8.1
  restic      0.17.0
  uv          0.4.0
status:       HEALTHY
5. Explore the dashboard
Open https://127.0.0.1:8642 to view the attention-first dashboard:
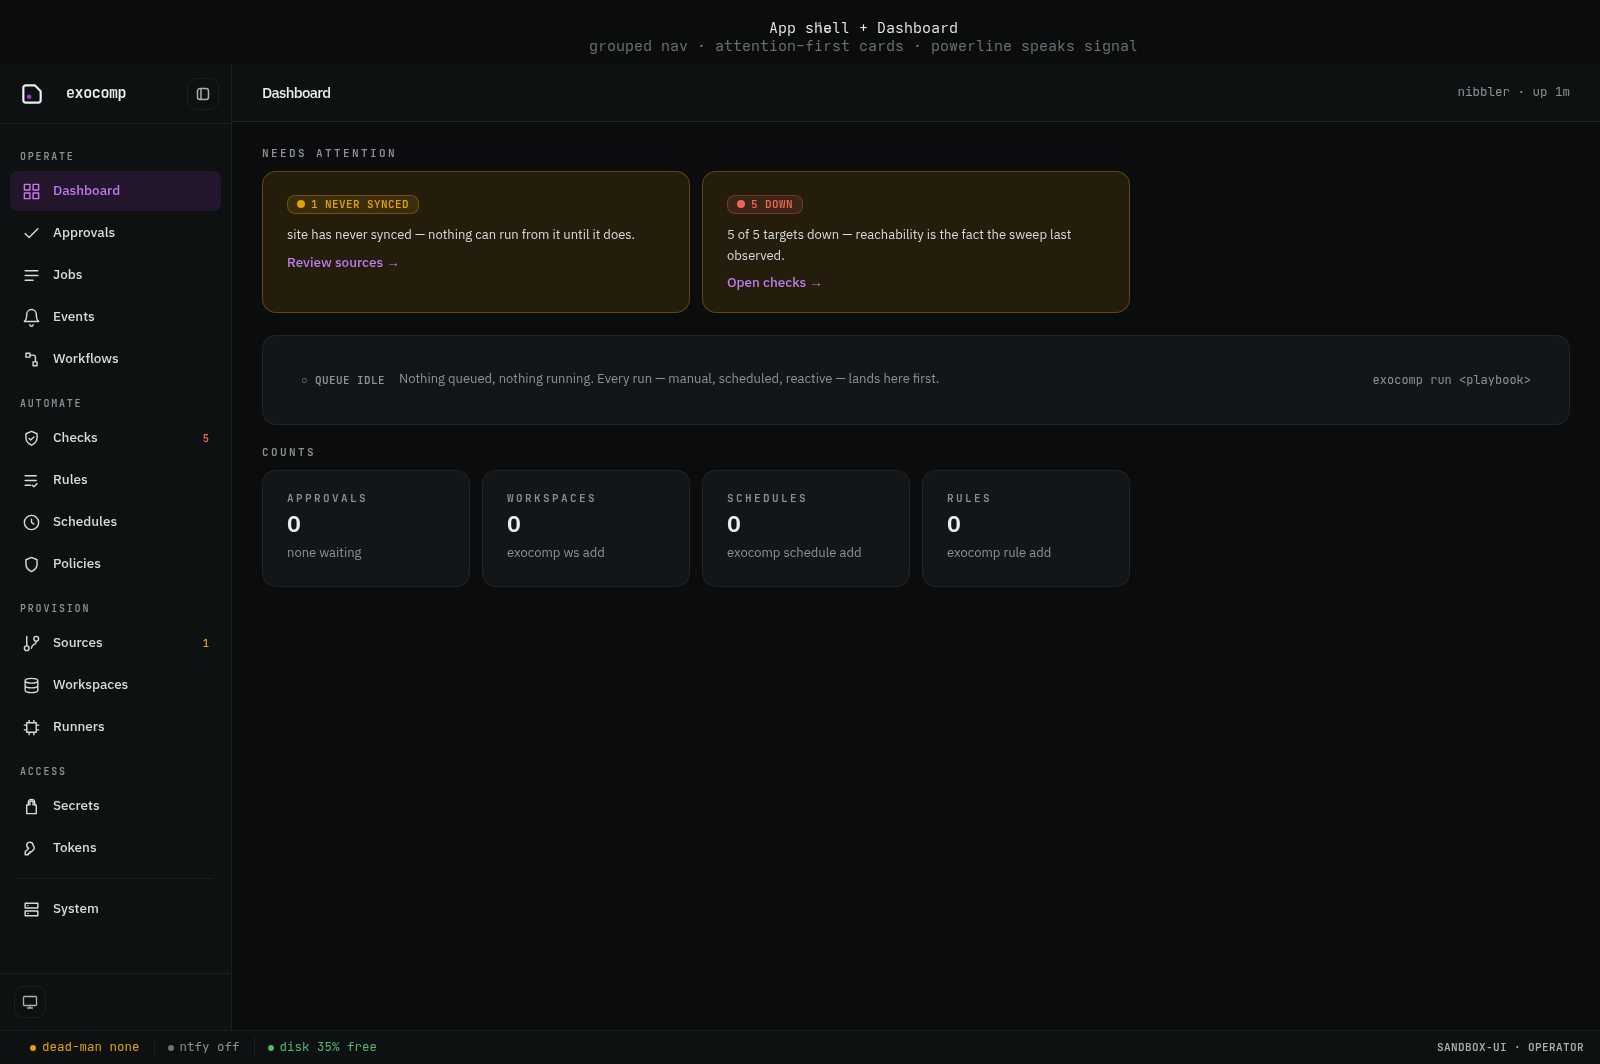
The dashboard presents the system status before detail: active alerts, pending approval gates, backup freshness, and running queue jobs.